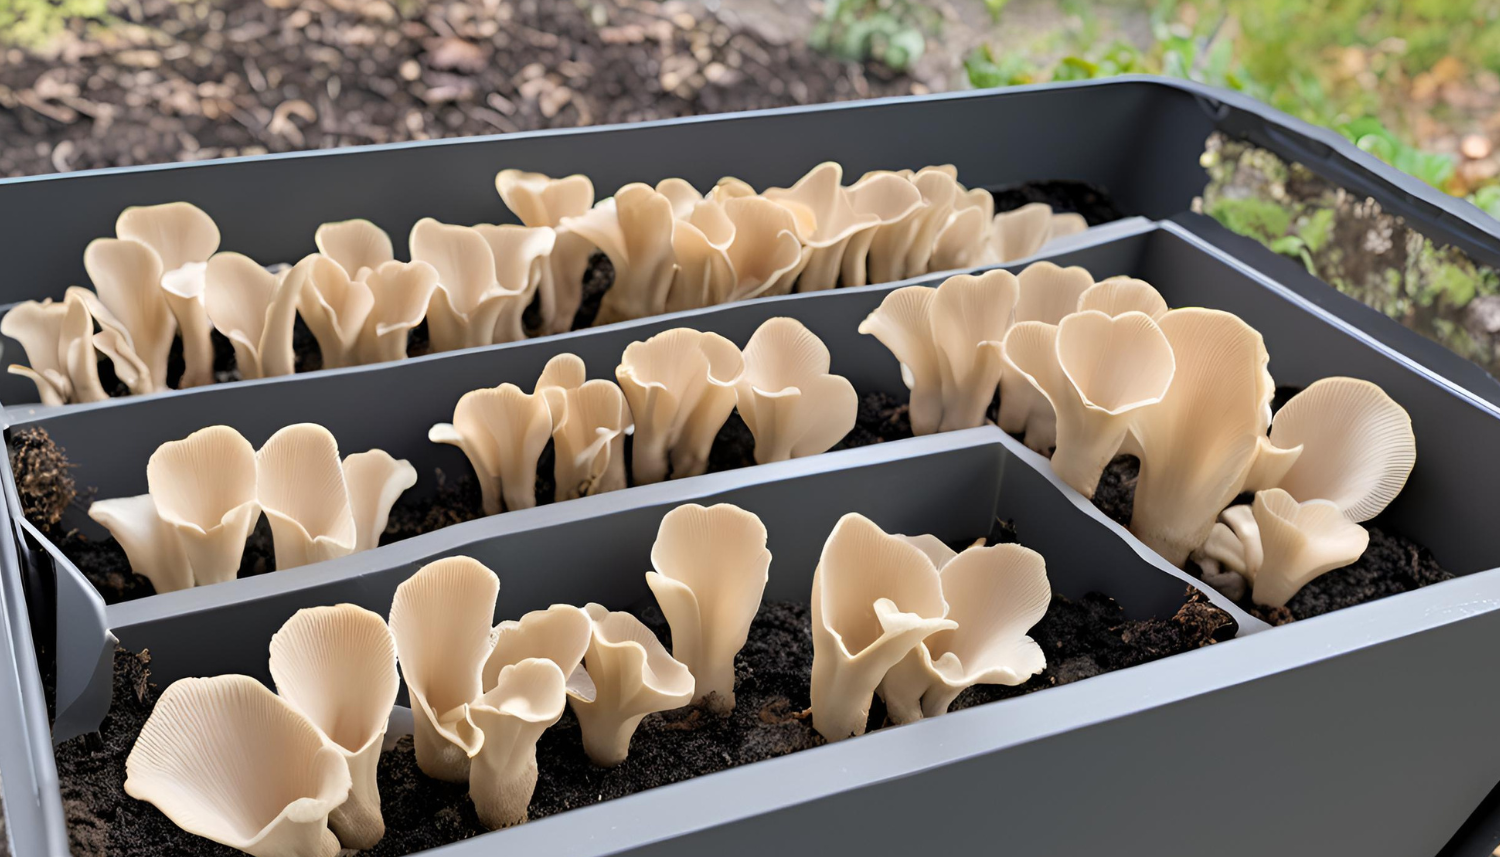
Oyster mushrooms are not only delicious and nutritious, but also relatively easy to grow at home. Whether you are a novice hobby grower or an experienced mushroom enthusiast, correctly preparing the substrate is a crucial step for a successful harvest. In this blog post we will guide you step by step in preparing the substrate for oyster mushrooms so that you can enjoy a bountiful harvest.
What is a Substrate?
The substrate is the growing medium in which the oyster mushrooms will grow. It provides the nutrients necessary for the mycelium (the fungal structure) to thrive and eventually produce fruiting bodies (the mushrooms). Common substrates for oyster mushrooms are straw, wood chips, coffee grounds and cardboard.
Materials Required
Before we start, let's list the materials needed:
- Growing medium (Substrate):
- Straw
- Wood chips
- Coffee grounds
- Cardboard
- Oyster mushroom brood (mycelium)
- Plastic bags or buckets
- Spray bottle for humidity
- Calcium carbonate (for pH adjustment)
- Sterile gloves and working environment
Steps for Substrate Preparation
1. Preparation of the Substrate
Straw
- Pasteurization: Boil the straw in water for about an hour to kill mold spores and other unwanted microorganisms.
- Drain and Cool: Let the straw drain and cool to room temperature.
Coffee grounds
- Ready to use: Coffee grounds have already been pasteurized by the coffee brewing process and can be used immediately.
Cardboard
- Preparation: Tear the cardboard into pieces and use as is. Make sure the cardboard is clean and free of ink or other chemicals.
Wood chips
- Sterilization: Boil the wood chips for at least an hour to sterilize. Then let them drain and cool.
2. Grafting the Substrate with Oyster Mushroom Spawn
- Mix the Spawn: Combine the prepared substrate with the oyster mushroom spawn, ensuring even distribution. Use sterile gloves to prevent contamination.
- Packaging: Place the mixture in a plastic bag or bucket, sealing tightly to minimize air exposure.
3. Incubation Phase
- Storage: Store the bag or bucket in a warm, dark place with a temperature between 20-25°C.
- Humidity: Spray regularly with water to keep the substrate moist, but not soaked.
- Observation: After about two weeks, white mycelium should appear. Once the entire substrate is white, the incubation phase is complete.
4. Fruiting
- Light and Humidity: Move the bags to a location with indirect light and higher humidity to encourage fruit formation. Ensure sufficient air circulation.
- Harvesting: Harvest the oyster mushrooms when they have fully grown, usually after about a month. Carefully twist and pull off the mushrooms so as not to damage the mycelium.
Frequently Asked Questions
How do I make mushroom substrate?
Making mushroom substrate starts with choosing a suitable growing medium such as straw, wood chips, coffee grounds or cardboard. The substrate must be pasteurized or sterilized to kill unwanted microorganisms. Then the substrate is mixed with oyster mushroom spawn and placed in a sterile environment for incubation.
How do you clean oyster mushrooms?
Oyster mushrooms can be easily cleaned by gently wiping them with a damp cloth or paper towel. Avoid immersing in water as this may affect the texture.
How do you make oyster mushroom spawn?
Oyster mushroom spawn can be made by growing mycelium on a sterile medium such as grain. This process requires a sterile environment and specific equipment such as a pressure cooker for sterilization.
Which mushrooms grow on coffee grounds?
Oyster mushrooms are one of the most popular mushrooms that grow well on coffee grounds. The coffee grounds provide a rich nutrient medium ideal for mycelium growth.
Tips and Best Practices
- Hygiene: Provide a sterile working environment to prevent contamination.
- Humidity: Keep the substrate moist but not soaked.
- Patience: The incubation phase requires patience as the mycelium grows through the substrate.
- Air circulation: Provide adequate air circulation during incubation to promote mycelium growth.
- pH adjustment: Use calcium carbonate to adjust the pH of the substrate for optimal growing conditions.
Additional information
After the first harvest, the substrate can often be used once or twice more for further harvests. If the substrate shows signs of degradation or contamination, it is time to use new substrate and brood. Websites such as Toshi Farm offer starter kits and additional products for growing oyster mushrooms, as well as support and guides.
By following these steps and tips, you can effectively prepare the substrate for growing oyster mushrooms at home. Good luck and enjoy your home-grown oyster mushrooms!
With this comprehensive guide, we hope you can make a successful start with growing oyster mushrooms. If you have any questions or need additional products and support, please visit our Toshi Farm website . Happy growing!


