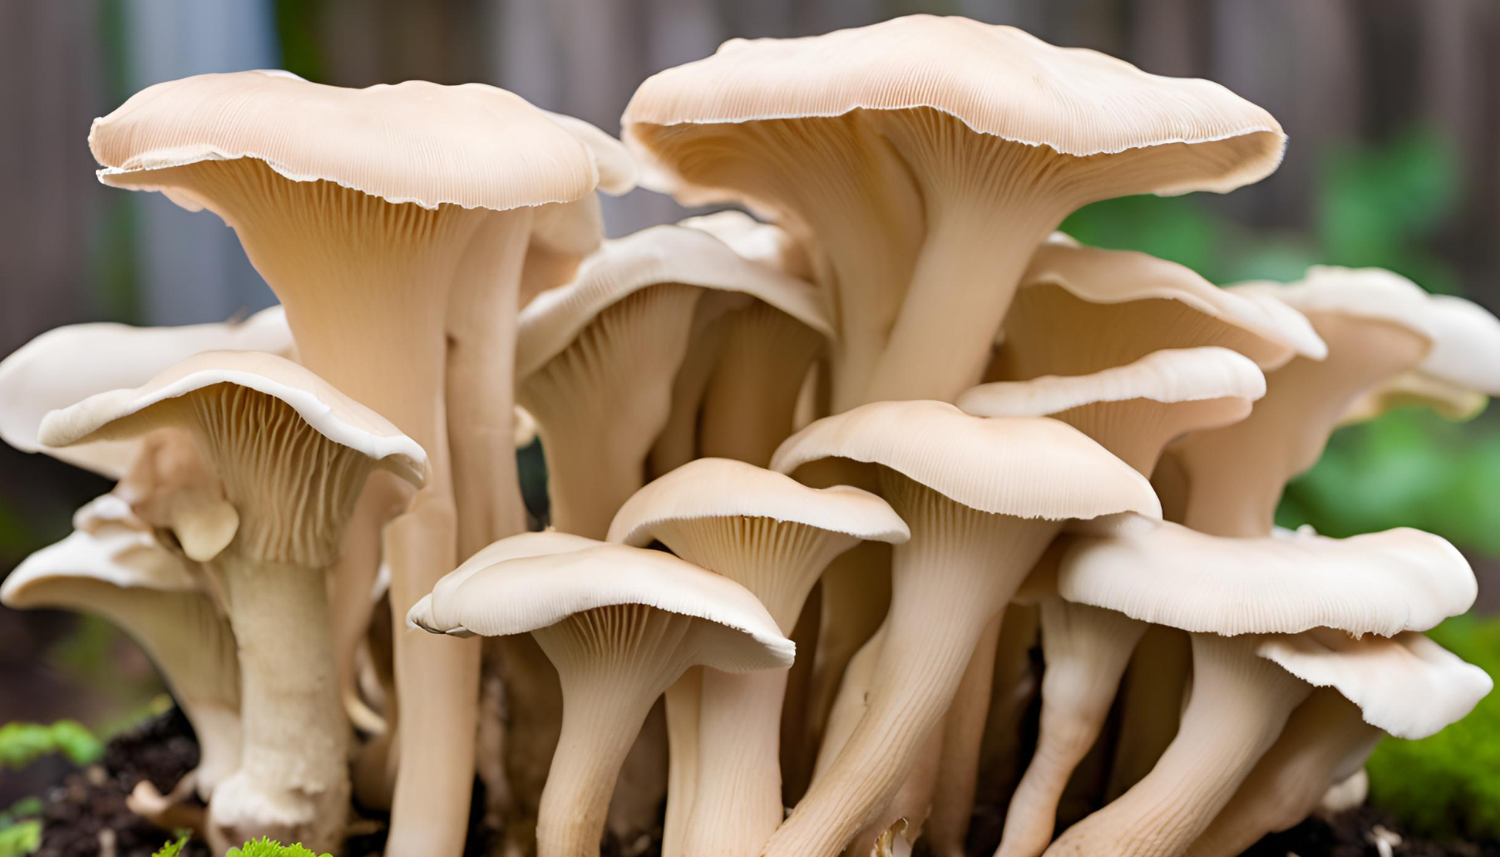
Oyster mushrooms (Pleurotus ostreatus) are a popular mushroom species that is relatively easy to grow at home. This research provides a comprehensive guide to gathering the right supplies and following the steps to successfully grow oyster mushrooms, specifically aimed at the Dutch market.
Necessary materials
- Grow Bag or Bucket with Lid:
- A grow bag or a clean bucket with a lid is essential for growing oyster mushrooms. For buckets, it is recommended to drill holes and cover them with micropore tape to let oxygen in and keep unwanted mold out.
- Latex Gloves:
- For hygienic reasons and to prevent contamination.
- Substrate:
- Straw or Coffee Grounds: 1000 grams of straw or a combination of 800 grams of coffee grounds and 200 grams of straw per grow bag or bucket.
- Masters Mix: 500 grams of hardwood pellets and 100 grams of wheat bran per grow bag.
- Oyster Mushroom Spawn (Spawn):
- 100 grams of brood per grow bag or bucket. This can be purchased online or from someone who has grown oyster mushrooms before.
- Micropore Tape:
- For covering the holes in the bucket.
- Other Supplies:
- Scissors, breathable tape, rubber bands, zip ties, and a large mixing container.
Steps for Growing Oyster Mushrooms
Method 1: Growing on Straw/Coffee Grounds
- Preparing the Straw:
- Boil the straw for at least 45 minutes and let it drain in a colander overnight.
- Mix the Ingredients:
- Combine the brood with the straw (and coffee grounds if using) in a clean container. Break up any large clumps of brood.
- Preparing the Container:
- Fill the grow bag or bucket with the mixture, leaving 4 inches from the top for bags or fill to the top for buckets. Secure the bag with a stapler or tape, or place the lid on the bucket and cover the holes with micropore tape.
- Incubation:
- Place the container in a dark, room temperature environment (e.g. near the boiler). Wait until the contents are completely white.
- Grow:
- Move the container to a partially shaded spot. For pockets, cut a 5x5 cm cross on the front. Keep the area moist with a fine mist, but avoid overwatering.
- Harvest:
- Harvest when the caps begin to curl up.
Method 2: Growing on Masters Mix
- Preparing the Mix:
- Combine hardwood pellets and 700 ml of warm water in a large container. Add wheat bran and mix thoroughly.
- Filling and Sterilizing:
- Fill the grow bag with the mixture up to the filter strip. Fold the top flap and secure with an elastic. Sterilize the bag for at least 45 minutes and let it cool for at least 8 hours.
- Inoculation:
- Add the spawn to the cooled mixture in a clean environment. Shake the bag to distribute the brood evenly. Close the bag with a tiewrap.
- Incubation:
- Place the bag in a dark, room temperature environment. Wait until the contents are completely white.
- Grow:
- Move the bag to a partially shaded spot. Remove the tie wrap to allow oxygen to enter. Mist the bag twice a day.
- Harvest:
- Harvest when the caps begin to curl up.
Growing conditions
- Incubation:
- Substrate to brood ratio: 95% substrate, 5% brood
- Substrate types: Hardwood, Straw, or Masters Mix
- Room temperature: 20-22°C
- Substrate temperature: 25-30°C
- Incubation period: 22 days
- Relative humidity: 90-95%
- Expansion phase (Primordia):
- Reduce the temperature to 6-15°C
- Fruiting Period:
- Temperature: 10-20°C
- Relative humidity: 85%
- CO2 concentration: <1000 ppm
- Light: 800-1500 lux
- Number of flushes: 2 to 3
- Interval: 1 to 2 weeks
- Humidity between flushes: Increase to 90%
Conclusion
By gathering the right supplies and following the steps above, you can successfully grow oyster mushrooms in your own home or garden. This not only provides a sustainable food source, but also a fun and educational activity.


